How to Build a Bitcoin Mining Rig: A 2024 Beginner's Step-by-Step Guide
Building a Bitcoin mining rig can be a rewarding project for tech enthusiasts looking to participate in the cryptocurrency network. While profitable mining requires significant research into costs and market conditions, the assembly process itself is a clear, hardware-focused task. This guide walks you through the essential steps to build your first dedicated mining rig.
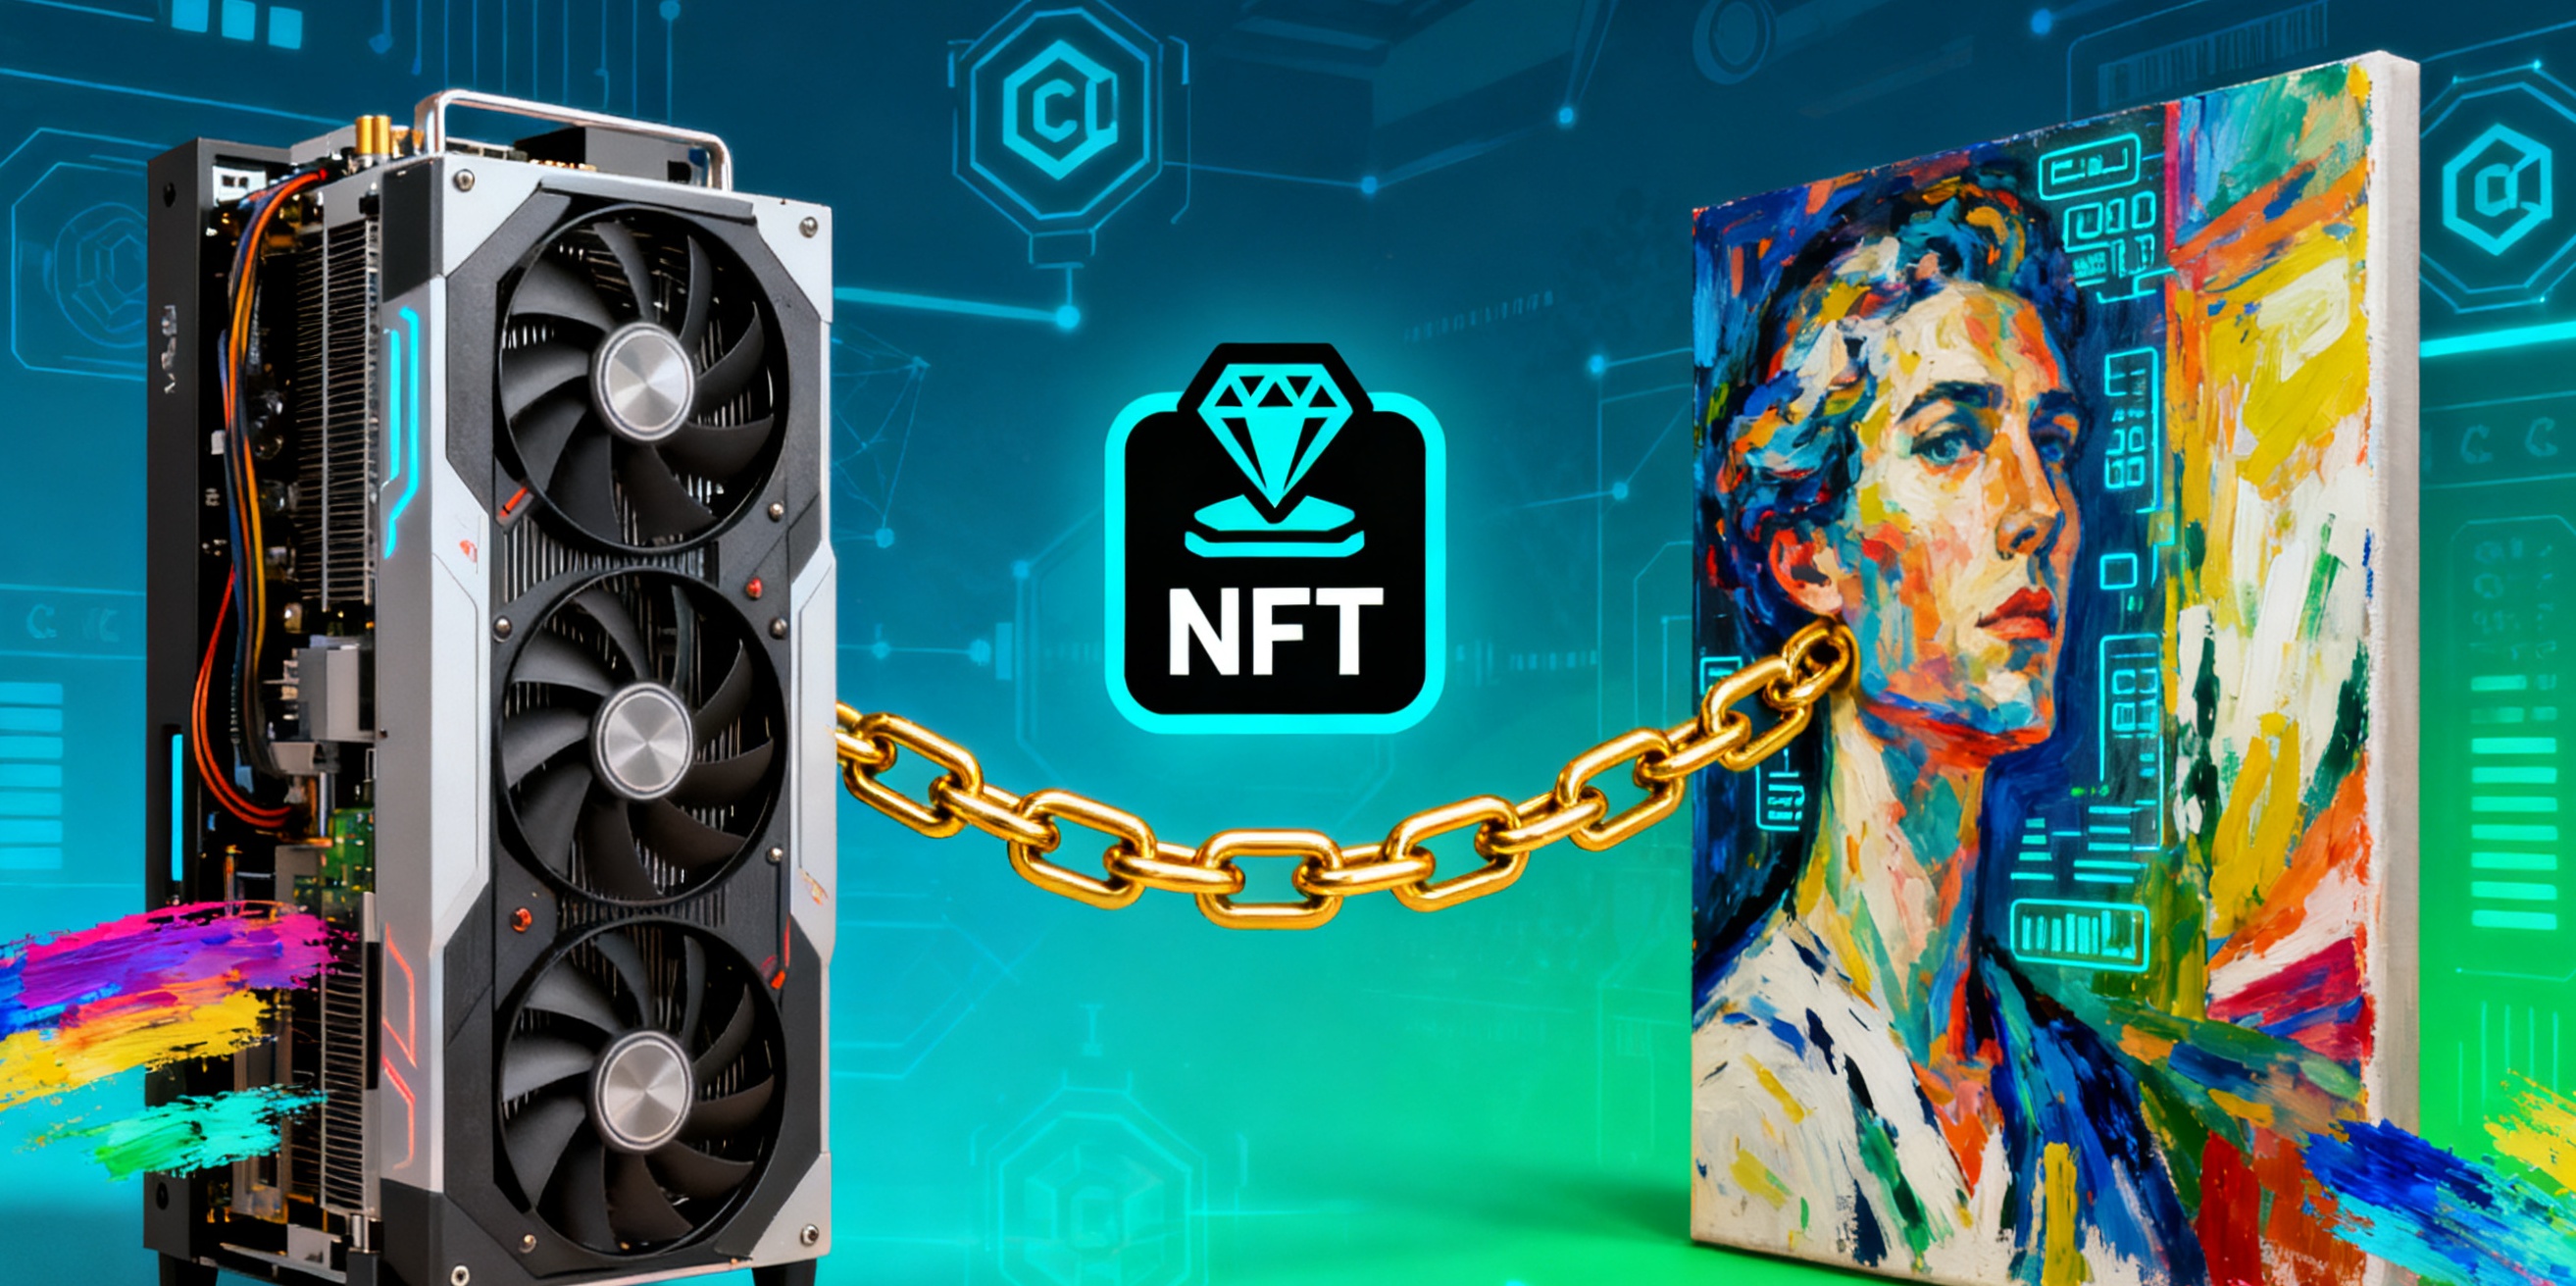
The core of a mining rig is specialized hardware designed to solve complex mathematical problems. For Bitcoin, this means using ASIC (Application-Specific Integrated Circuit) miners, which are built solely for this purpose and offer the necessary power. For other mineable cryptocurrencies, a rig might consist of multiple high-performance GPUs (Graphics Processing Units). This article focuses on the more universal GPU-based rig framework, which teaches the fundamental principles of assembly.
Your first step is gathering the correct components. You will need a motherboard with multiple PCIe slots, typically 6-8 for a robust rig. Pair this with a compatible CPU, like a basic Intel Celeron, and sufficient RAM (4-8GB). The most critical and costly parts are the GPUs; research models like NVIDIA's RTX 30/40 series or AMD's RX series for optimal hash rate-to-power consumption ratios. You will also need a sturdy open-air frame for cooling, a high-wattage Platinum or Gold-rated power supply (PSU), reliable storage (a 120GB SSD is ample), and riser cards to connect the GPUs to the motherboard.
Assembly begins with mounting the motherboard onto the frame. Install the CPU, RAM, and SSD onto the motherboard first. Next, securely position the PSU and begin the crucial wiring process. Use the riser cards to connect each GPU slot to the motherboard. Powering the system demands careful attention: the main motherboard connector and CPU power must be plugged in. Each GPU and riser card needs dedicated power cables from the PSU. Never daisy-chain multiple risers or GPUs on a single cable; this is a major fire risk. Ensure all connections are secure.
Once the hardware is assembled, connect a monitor, keyboard, and mouse. Power on the rig and enter the BIOS. Here, you must configure settings for stability: enable "Above 4G Decoding" to allow the system to recognize all GPUs, and set the PCIe slots to Gen1 or Gen2 mode. Save and exit. Then, install your preferred operating system, such as Windows or a lightweight Linux-based mining OS like HiveOS.
With the OS installed, download and install the latest drivers for your GPUs. The final step is configuring the mining software. Choose a program like CGMiner or NiceHash, and input the details of your chosen mining pool and your cryptocurrency wallet address. The software will manage the computational work. Before full-scale operation, monitor temperatures and hash rates closely, adjusting fan speeds and GPU clock settings for optimal performance and longevity.
Building a mining rig requires an upfront investment and ongoing costs for electricity. Success depends on careful component selection, meticulous assembly, and continuous monitoring. By following these steps, you can construct a functional rig and gain hands-on insight into the foundational hardware of cryptocurrency networks.
Post a Comment